Spend more time in the Playground

When Playgrounds first came out I remember thinking it would definitely come in handy for learning Swift. In fact, it was so useful that I've now got several Playgrounds strewn around my development folder.
So why bring all this up now? It was a ‘Swift Driven Development’ talk by Phil Nash (Twitter: @phil_nash) at the iOS Dev UK conference in September 2017 that rekindled my interest in the platform. I’d always seen Playgrounds as a tool for experimenting with formulae and the odd lines of tricky code, but never thought of using it to develop and test whole classes, including view controllers.
If you’ve not delved into Test Driven Development (TDD) yet, the idea is to cycle through the process of writing a test, writing the least amount of code to make that test pass, and then refactoring the code; rinse, lather, repeat until you’ve completed your project.
The obvious first tests
Two considerations were brought to light during that talk. The first was that your IDE provides the initial set of tests, for example:
let example = MyClass()
I instantly get feedback which says MyClass does not exist; my first failed test. Easy to resolve by writing the bare minimum of code to get rid of the error:
class MyClass {

}
My next line of code introduces another error - another failed test:
example.text = "Hello World"
Once again we add the bare minimum:
class MyClass {

 var text: String = ""

}
And the process continues until the moment you release to the App Store.
Come out to play!
The second consideration covered in the talk was time you can save by writing and testing code within the Playground environment. Take the following example:
You’re in the middle of writing a complex mobile app which takes a bunch of user input, makes some API calls and eventually displays a fancy graphic about ten view controllers into the navigation hierarchy. The graphic is a UIView which makes use of multiple layers of bezier paths within its draw(rect:) method. Ideally, you’d like to experiment with the look and feel of the view in order to optimise the user experience, and gain a little kudos from your peers.
The problem with developing the view within the structure of the full application is mainly one of speed. Every time you want to check your output, you need to run up the app, input a bunch of figures, call the API and eventually you get to the final view only to realise something doesn’t look quite right. You adjust the code, and cycle round again in a process that’s both tedious and time consuming.
Another option is to fiddle with the AppDelegate and instantiate your view in the key window; remembering to put the code back the way you found it when you’ve finished. It works, but is still a little tedious as you’re building the whole app for each modification.
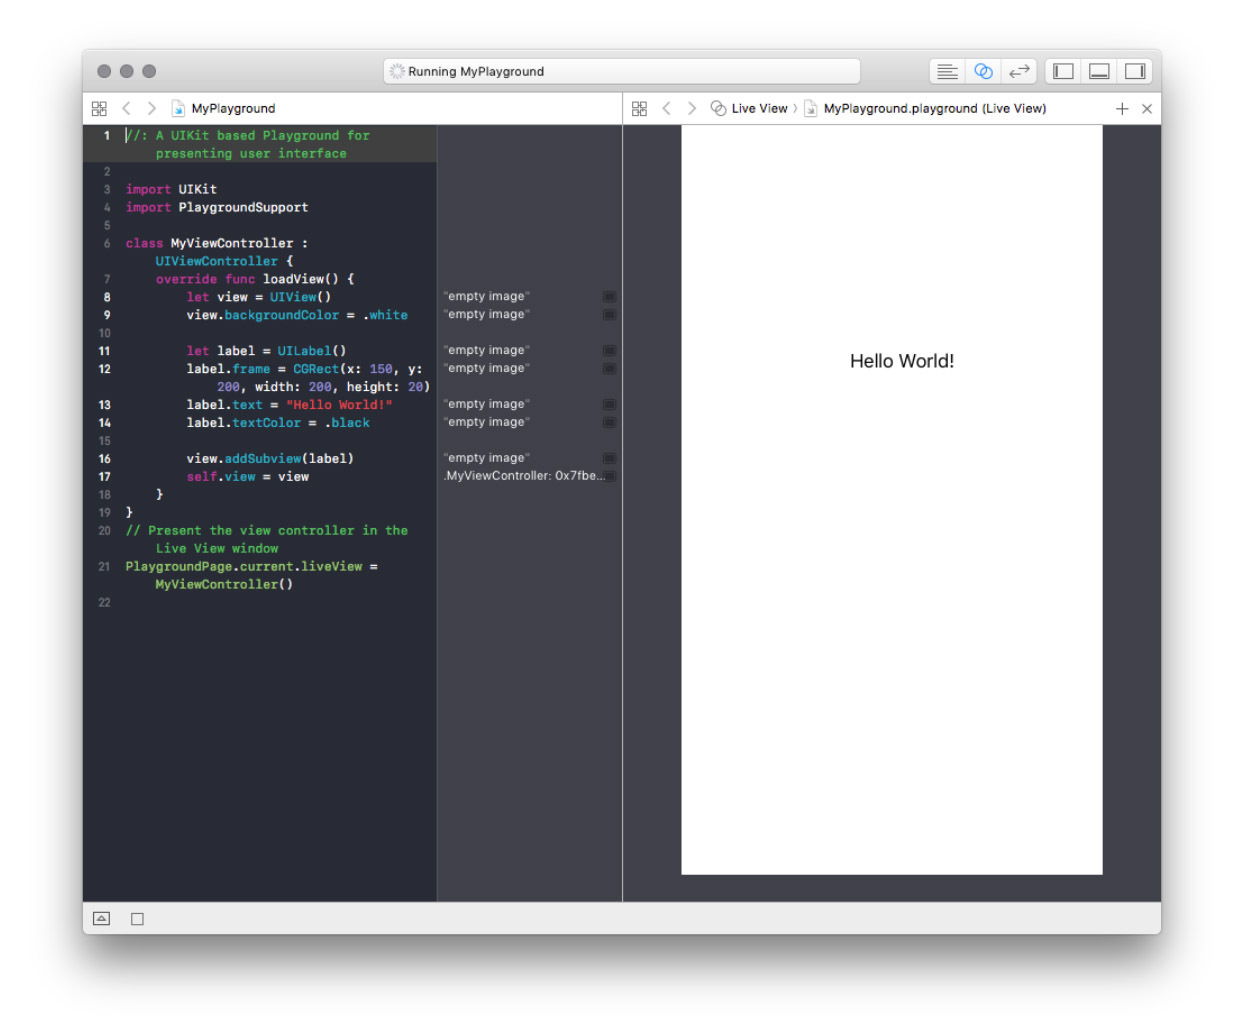
Enter Playgrounds and the ability to receive near instantaneous feedback for every tweak of your code. You can create classes in the playground environment, import existing Swift files and even write and run unit tests. Let’s take a brief look at each of these points as there are one or two caveats.
Setting-up the Playground
You’ll need a playground with a view, so launch XCode and click ‘get started with a playground’ (or from File > New > Playground) and select Single View. If you’ve never used a playground before, or you are new to Swift, it may be worth checking out Apple’s introductory tour of Swift, written as a Playground (there is a link at the end of this post).
Once you’re up and running with Playground, make sure you have the live view set-up in the assistant editor.

How to import your own source files
There is a Sources folder within the Playground (show the Navigator using the top right control) into which you can import your own Swift files. But be warned, you may not be able to interact with them fully from the outset.
For this reason, I always recommend copying your source files into the Playground rather than linking them, as you will need to make changes. While this is a bit of a bind, I don’t personally see it as a deal-breaker.
Because the Playground is sandboxed, it will only recognise classes and methods that are made public within your imported files, so you will need to through the class and declare everything public. If your class relies on the default init methods, you will need to create a public-facing init method.
Once this is completed, you will have full access to your classes and methods within the Playground. Below is a simple example of this in practice:
But is it testable?
The final piece in our puzzle is writing and running tests in your Playground. Simply import XCTest at the top of your main playground area and write your test class:
The easiest way to run your test is using the following line of code:
ExampleTests.defaultTestSuite.run()
The output will show up in the console window.
If you want to go one stage further, it is possible to have the tests generate a compiler error. That way you don’t have to keep an eye on the overload of information in the console window.
Add the following observer to your Playground before the defaultTestSuite.run() statement and watch what happens when one of your tests fail.
And now it’s over to you…
I have included the above examples in a Swift Playground which you can access in the links section below to help you begin your TDD Playground journey. It won’t be practical in all of your coding situations, but should serve to shave off some development time.
Resources and links
- iOS Dev UK (if you only go to one conference next year)
- Apple’s introduction to Swift (using Playgrounds)
Looking for something else?
Search over 450 blog posts from our team
Want to hear more?
Subscribe to our monthly digest of blogs to stay in the loop and come with us on our journey to make things better!
