Barcode Creation: How to Create a Barcode in Kotlin Android

At Brightec, we love learning and when we learn something new, we love sharing it with others. That’s why I wrote this article - to share how you can create a barcode in Kotlin Android like I did.
If you’re new to Android development, check out our blog where you can find more information and how-to guides just like this one.
You can also find out more about our Android app development service to find out more about our process.
Let’s get started…
TL;DR
implementation 'com.google.zxing:core:3.4.0'
MainActivity.kt
main_activity.xml
How to Create a Barcode in Kotlin Android
There are lots of articles and help online for producing an Android app that can scan barcodes (including the excellent KBarcode library and sample app developed by my colleague, Alistair). However, it was harder to find information about generating and displaying barcodes programmatically. Most articles appear to include either larger libraries or complete sample apps, rather than simple instructions outlining barcode creation from beginning to end.
I needed to create a 1D (CODE 128) barcode for Android and so, turned to the ZXing project for help.
Utilising ZXing Library
ZXing is a barcode image processing library originally released in 2008 and subsequently open-sourced and now hosted on Google Open Source. It was originally implemented in Java but has since been ported to many other languages and has support for 1D product, 1D industrial, and 2D barcodes.
The ZXing project has been on GitHub for years, its first release was over 5 years ago and has had 27 releases and over 3.5k commits at the time of writing! Although the project is now in maintenance mode it is used by over 17k projects and has been forked over 8k times.
The project consists of various components including an Android Barcode Scanning app, but for this blog, we just needed the core functionality. The code examples and a step-by-step guide for creating a new Android app that displays a 1D Code 128 barcode can be found below.
Barcode Creation A Step-by-Step Guide (Android Studio 3.5)
When it comes to learning barcode creation, the best thing you can do is follow our step-by-step process. What follows is how to create a barcode for your Android app. By following these steps, you will build an Android barcode that looks great and works well.
Let’s get started.
1. Create a new Android Studio project
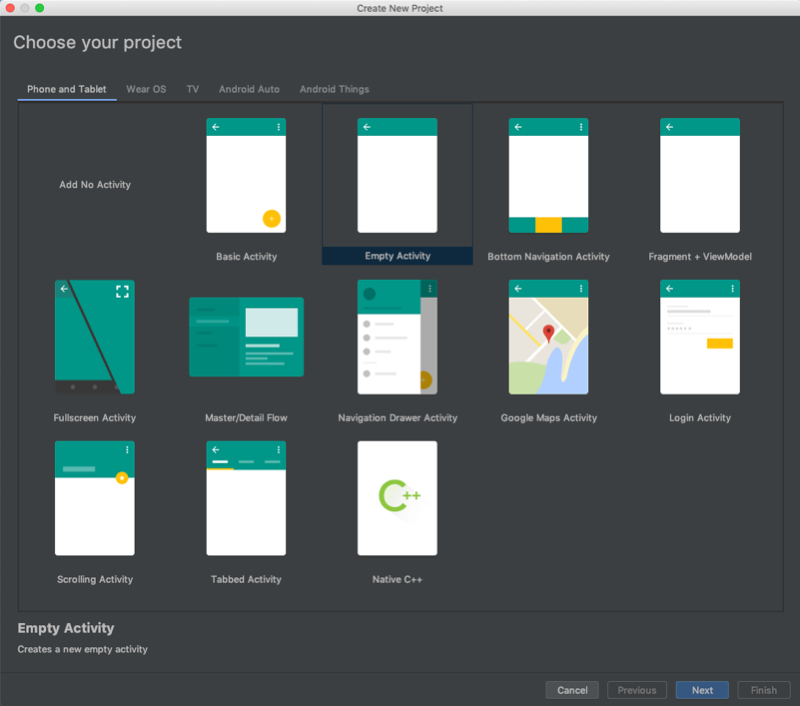
a. Choose Empty Activity, click Next

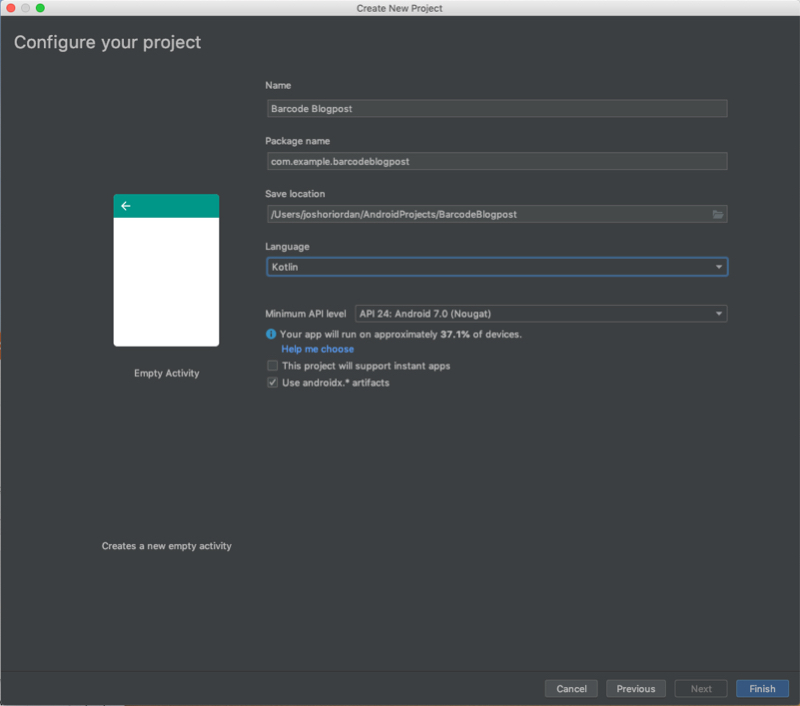
b. Configure your project, click Next

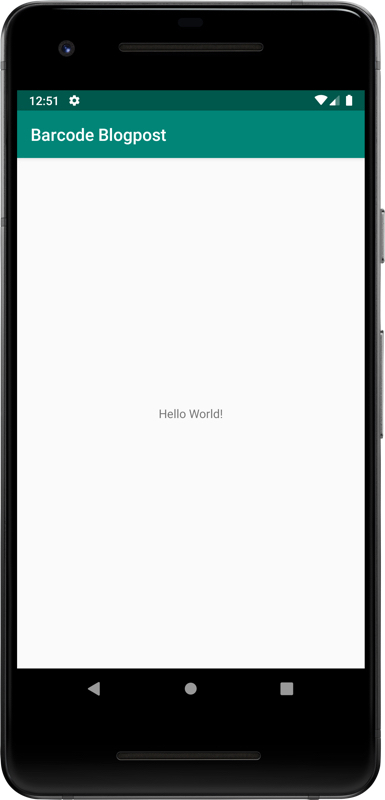
c. Run the new project to ensure project setup is correct

2. Add the ZXing library
Edit app/build.gradle and add a dependency on ZXing core libraryimplementation 'com.google.zxing:core:3.4.0'
3. Set up a dimensions file
While not strictly necessary, it's useful to create a dimensions file to hold the size of your barcode image which can be accessed from the layout and from the code. Create the file app/src/main/res/values/dimens.xml with these values4. Create the layout
Edit app/src/main/res/layout/activity_main.xml and replace the default TextView with an ImageView to hold the barcode and a TextView below it to hold the barcode value.5. Edit MainActivity.kt
Edit the file MainActivity.kt (the directory location will vary depending on the package name chosen when creating the project in step 1b.)a. Add a function to generate the barcode image
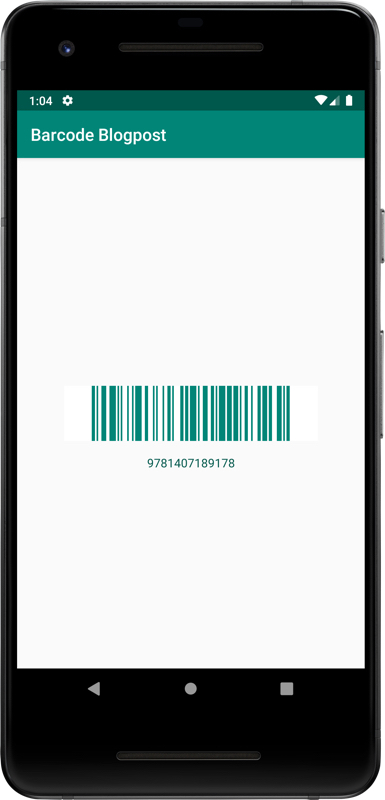
6. Re-run the app to see the final result!
Re-running the app lets you see your barcode creation in its full glory.

Learn More from Our Team
I hope you found this article on barcode creation helpful. Now you know how to create a barcode in Kotlin Android! If you’d like to discover more how-to articles like this one, check out our blog.
Looking for something else?
Search over 450 blog posts from our team
Want to hear more?
Subscribe to our monthly digest of blogs to stay in the loop and come with us on our journey to make things better!
